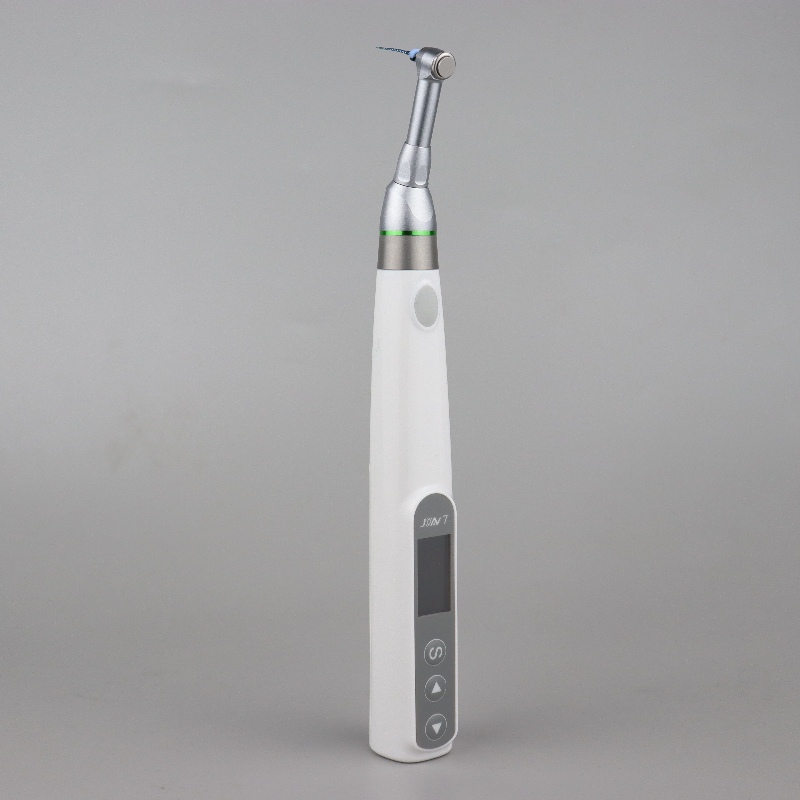
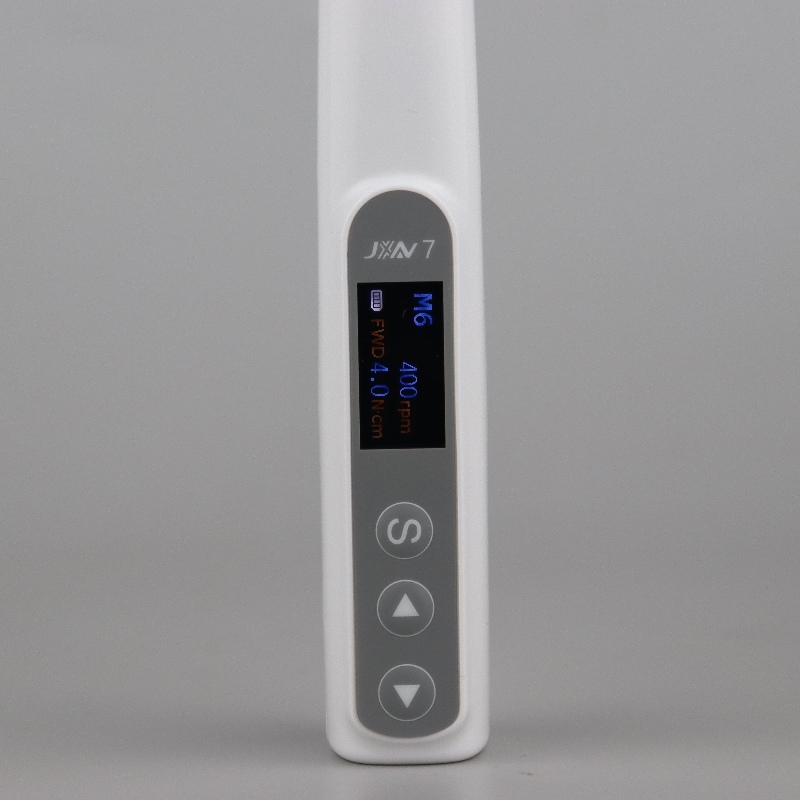
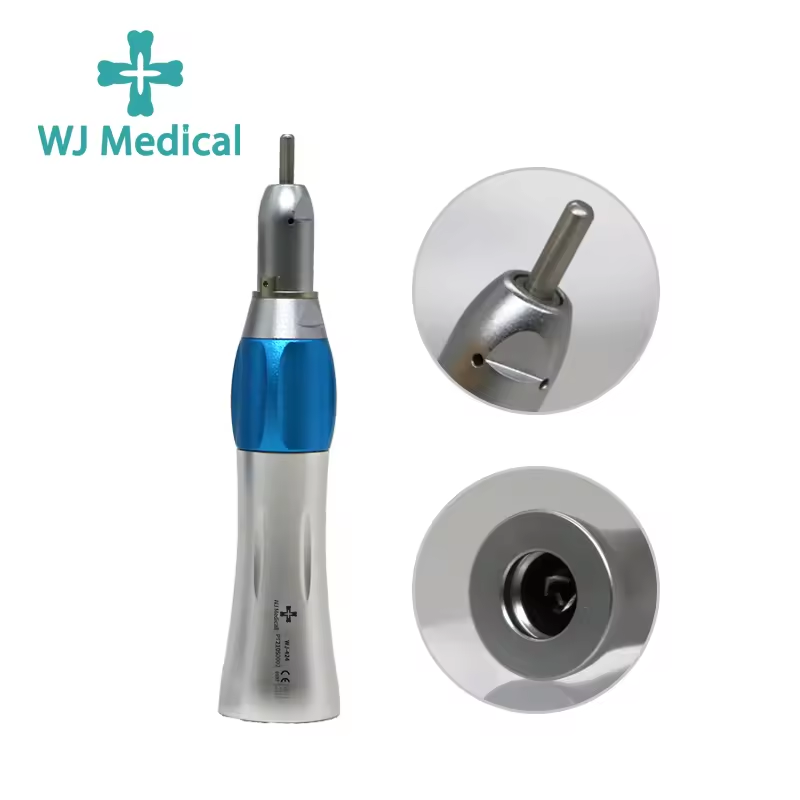
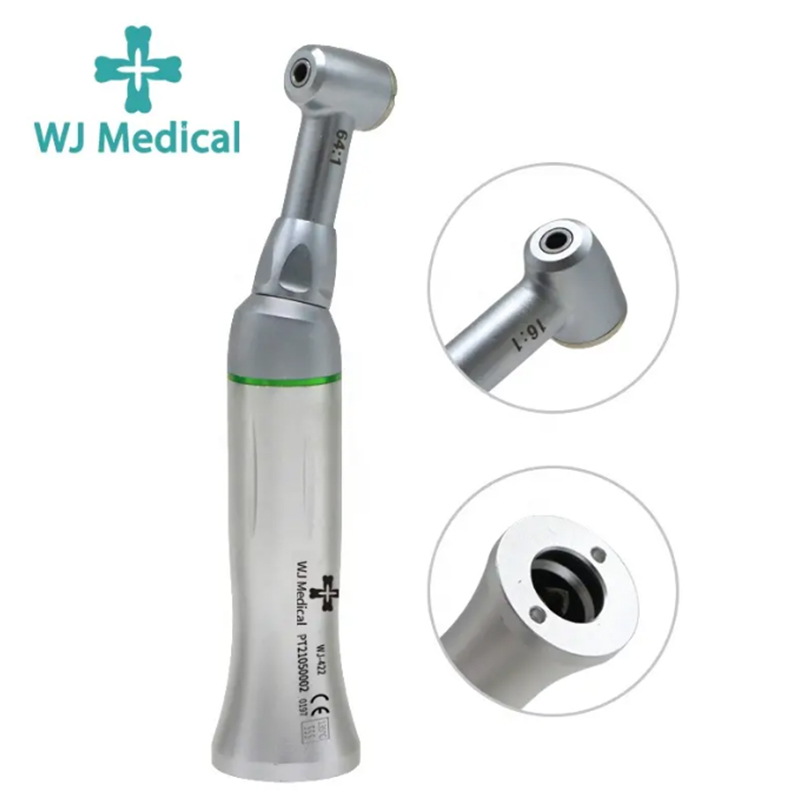
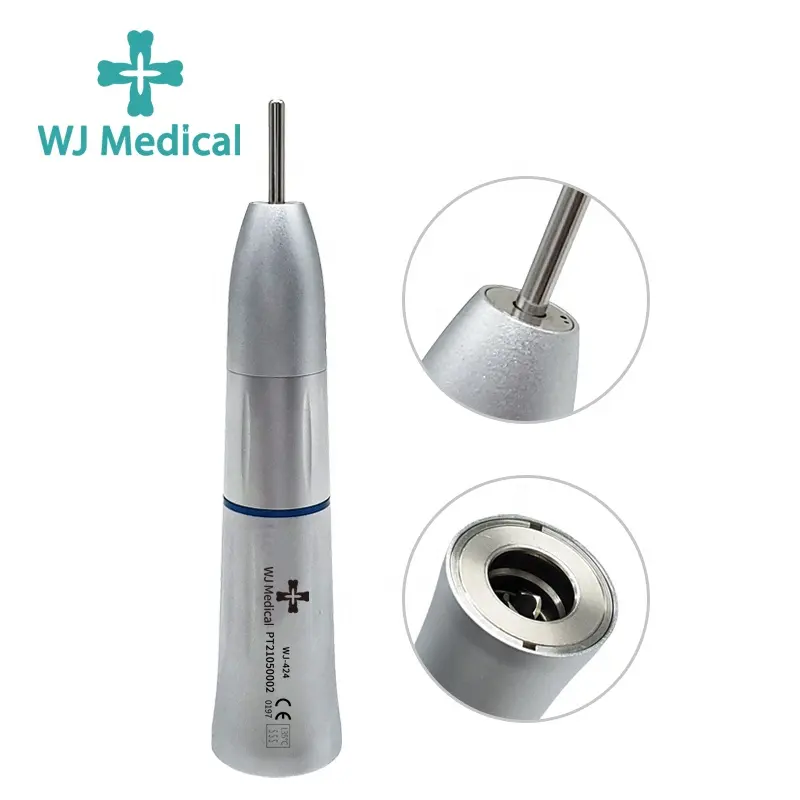
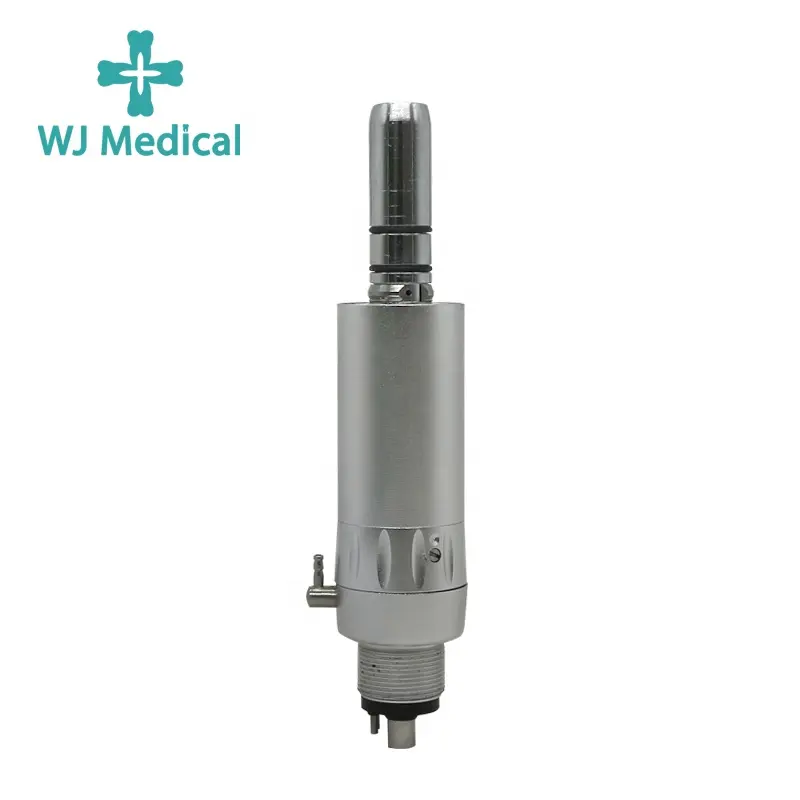
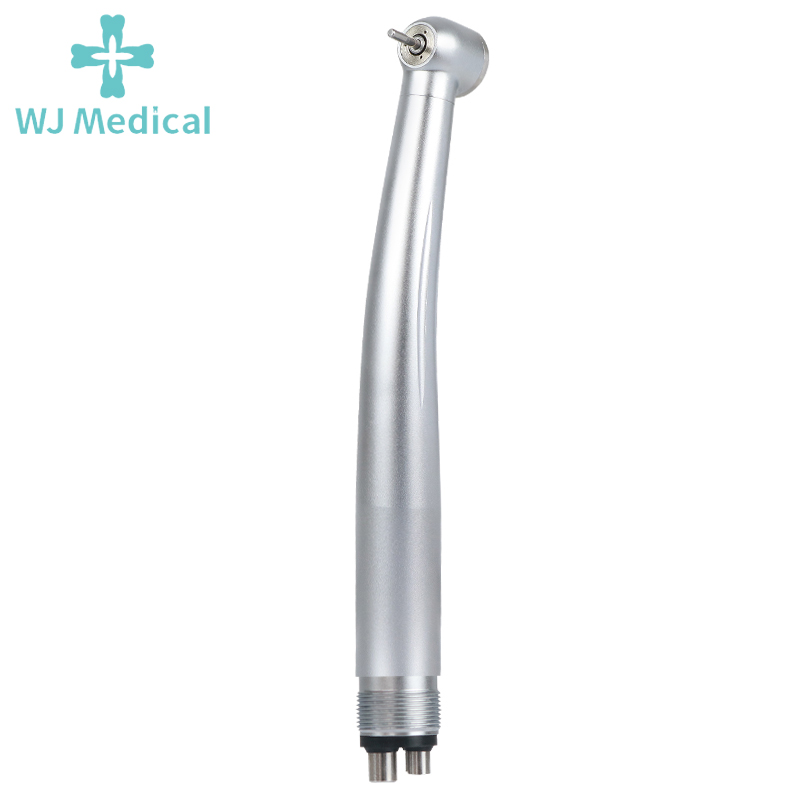
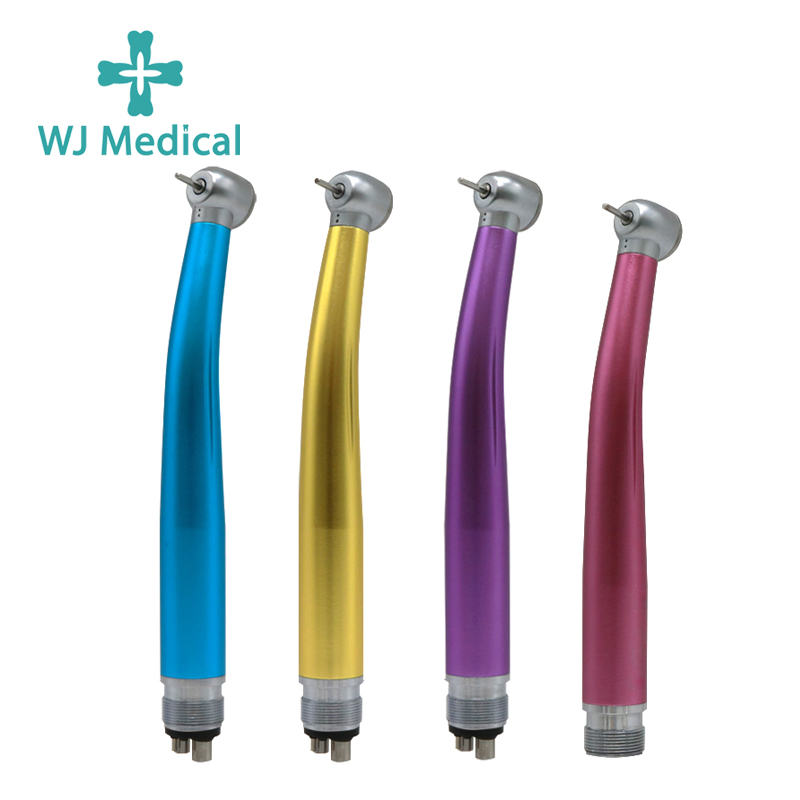
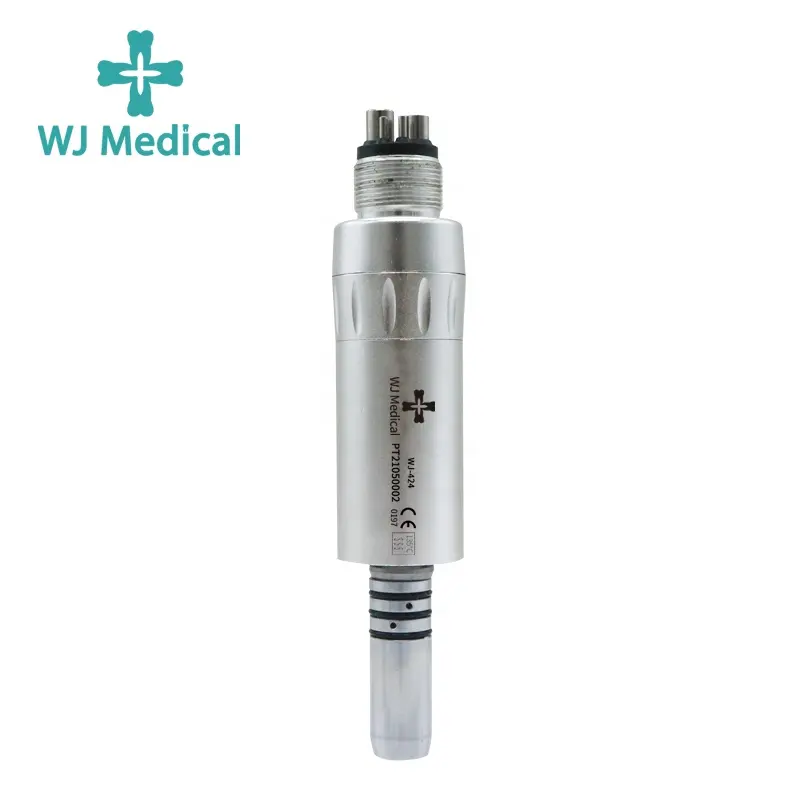
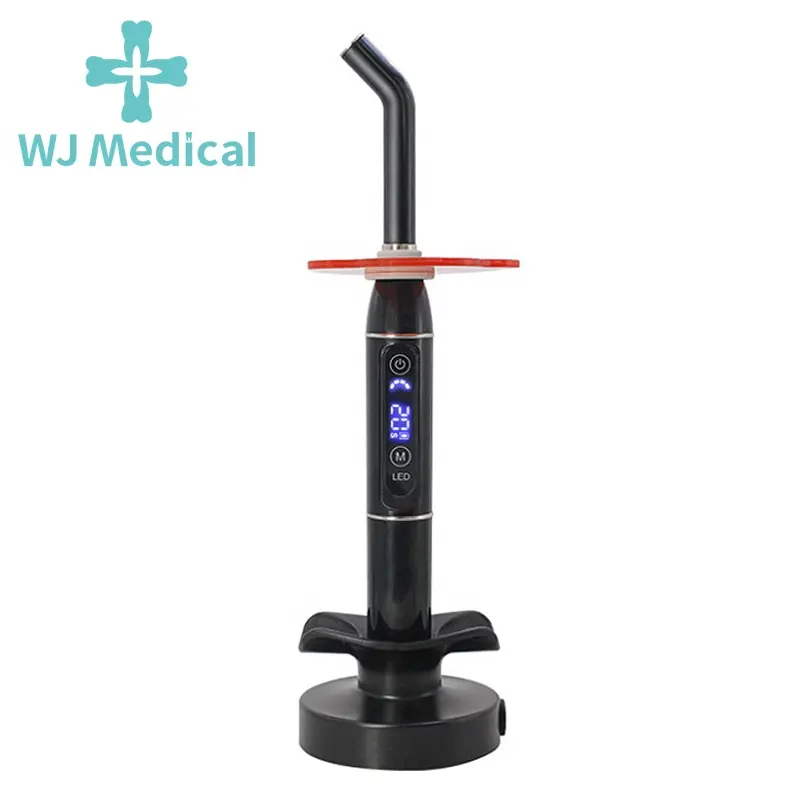
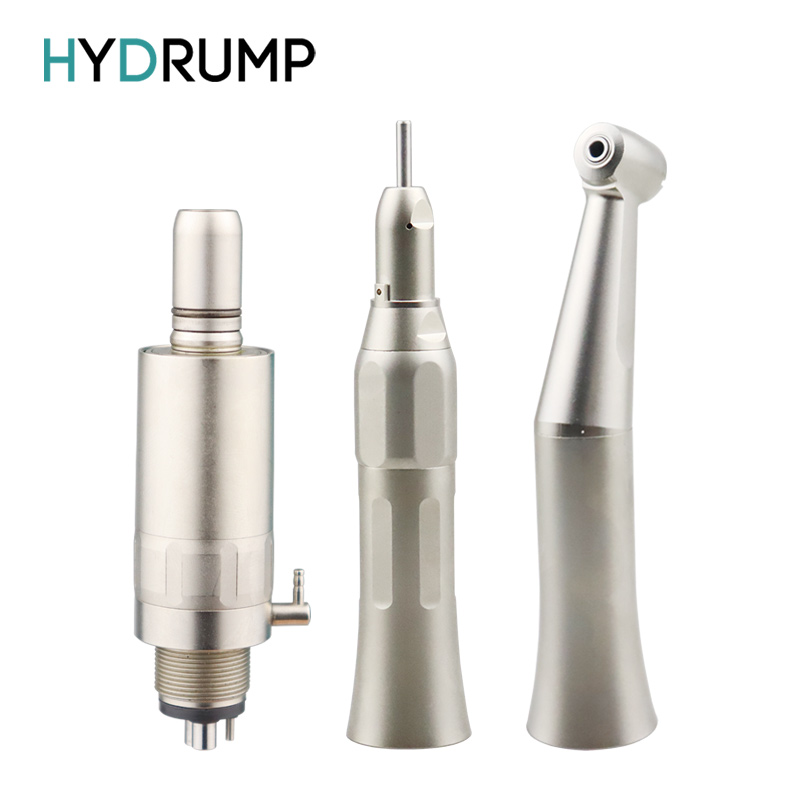
How dental endo motor to do the basic operating procedures?
1. dental endo motorMachine Initialization
First-time use or long-term shutdown: Perform initialization operations until the display indicator light stabilizes and enters standby mode
Battery check: Ensure the device battery is fully charged (wireless charging devices must be pre-charged) .
2. dental endo motor Instrument and Patient Preparation
Instrument selection: Use nickel-titanium files (e.g., ProTaper Next) or stainless steel files, adjusting rotation speed (250-600 rpm) and torque (low torque for fine canals) based on root canal curvature
Patient preparation: Complete oral cleaning and isolate the tooth with a rubber dam to prevent cross-infection
3. dental endo motor,Root Canal Measurement and Length Determination
Measurement: Use an apex locator (e.g., Root ZX) to determine the working length. The display "APEX" at the root tip indicates the target length, verified by X-ray
Inaccurate measurements: Repeat measurements multiple times or use a K-file for recalibration
4. dental endo motor,Root Canal Preparation and Cleaning
Crown-down technique: Start with a large file (e.g., 25#) to prepare the coronal 1/3, then sequentially extend to the working length
Irrigation: After each instrument change, flush with 5ml sodium hypochlorite (2-5%) using a 27G side-vented needle; final rinse with 17% EDTA to remove smear layer
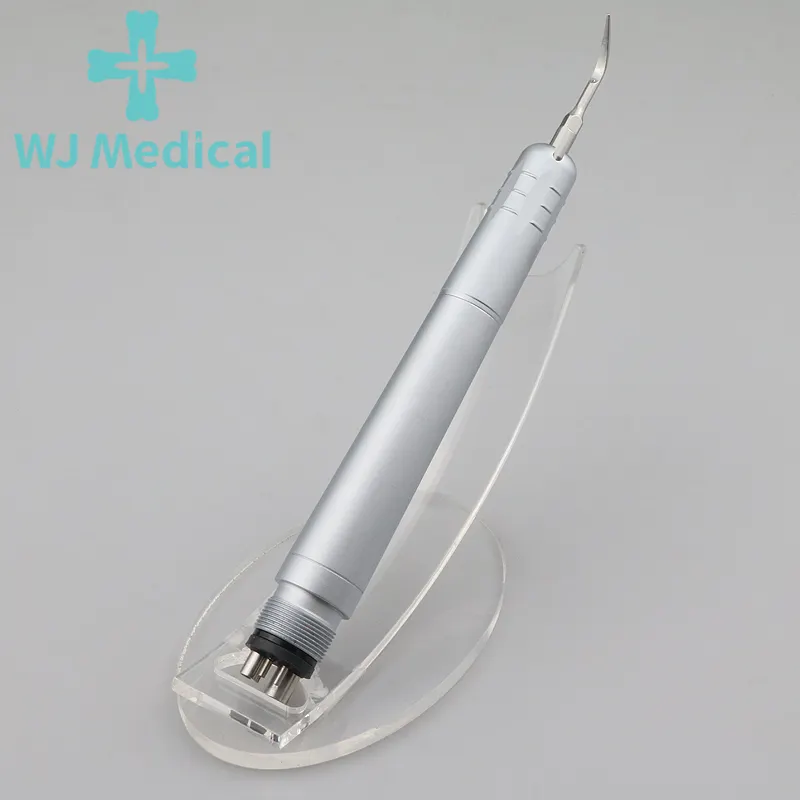
Obstruction handling: Check for instrument deformation first; if blocked, use an ultrasonic tip to clear the canal
5. Root Canal Filling
Hot gutta-percha vertical condensation: For curved canals, use System B to segmentally apply pressure with the master cone, supplemented by accessory cones to seal lateral branches
Post-filling verification: X-ray must show no voids in the canal and the filling material must not extend beyond the apex by more than 0.5mm.
